
Phurpa Tsering
How to Test WebSocket Applications: Functional, Load, and Debugging
Testing a WebSocket application means checking two things. First, that it behaves correctly: messages reach the right clients, in the right order, with the right content. That's functional testing. Second, that it stays stable when many users connect at once. That's load testing. When either fails, you need a third skill: debugging the connection itself.
This guide covers all three, with tools and steps you can use today.
Start with one connection
Before simulating a thousand users, test one. Connect to your ws:// or wss:// endpoint, send a message, check the reply.
You can do this right now from a terminal:
npx wscat -c wss://echo.websocket.org
Type anything. The echo server sends it back. Swap in your own endpoint and you have your first WebSocket test. If this case is flaky, every multiuser test on top of it will be flaky too.
From there, work up a ladder:
- One connection, scripted exchange. Send a fixed sequence of messages. Assert on each response. This catches wrong message shapes, missing fields, and broken auth handshakes.
- Two connections, cross-talk. Open two clients. Send from one. Assert the other receives it. This is the smallest honest test of "multiuser," and it catches the bugs that matter most: broadcast logic, room membership, message routing.
- Reconnection. Kill a connection mid-conversation. Verify the client rejoins without losing state. Real networks drop constantly. Your tests should too.
Functional testing: pick a tool where tests survive
Postman and Insomnia both support WebSocket requests. Connect, send, watch the responses. They're fine at it.
We use Voiden. Partly because we built it. Mostly for one reason: the tests are files, and everything inside them is a block.
WebSocket support in Voiden is a plugin, alongside REST, GraphQL, and gRPC. You install what you need. In a .void file, type /wss and press Enter. That creates a WebSocket block. Hit Cmd + Enter (Mac) or Ctrl + Enter (Windows/Linux) and you're connected — a status indicator walks you through the lifecycle (Disconnected, Connecting, Connected, Closed), and a message composer lets you send Plain Text, JSON, HTML, or XML payloads to the server.
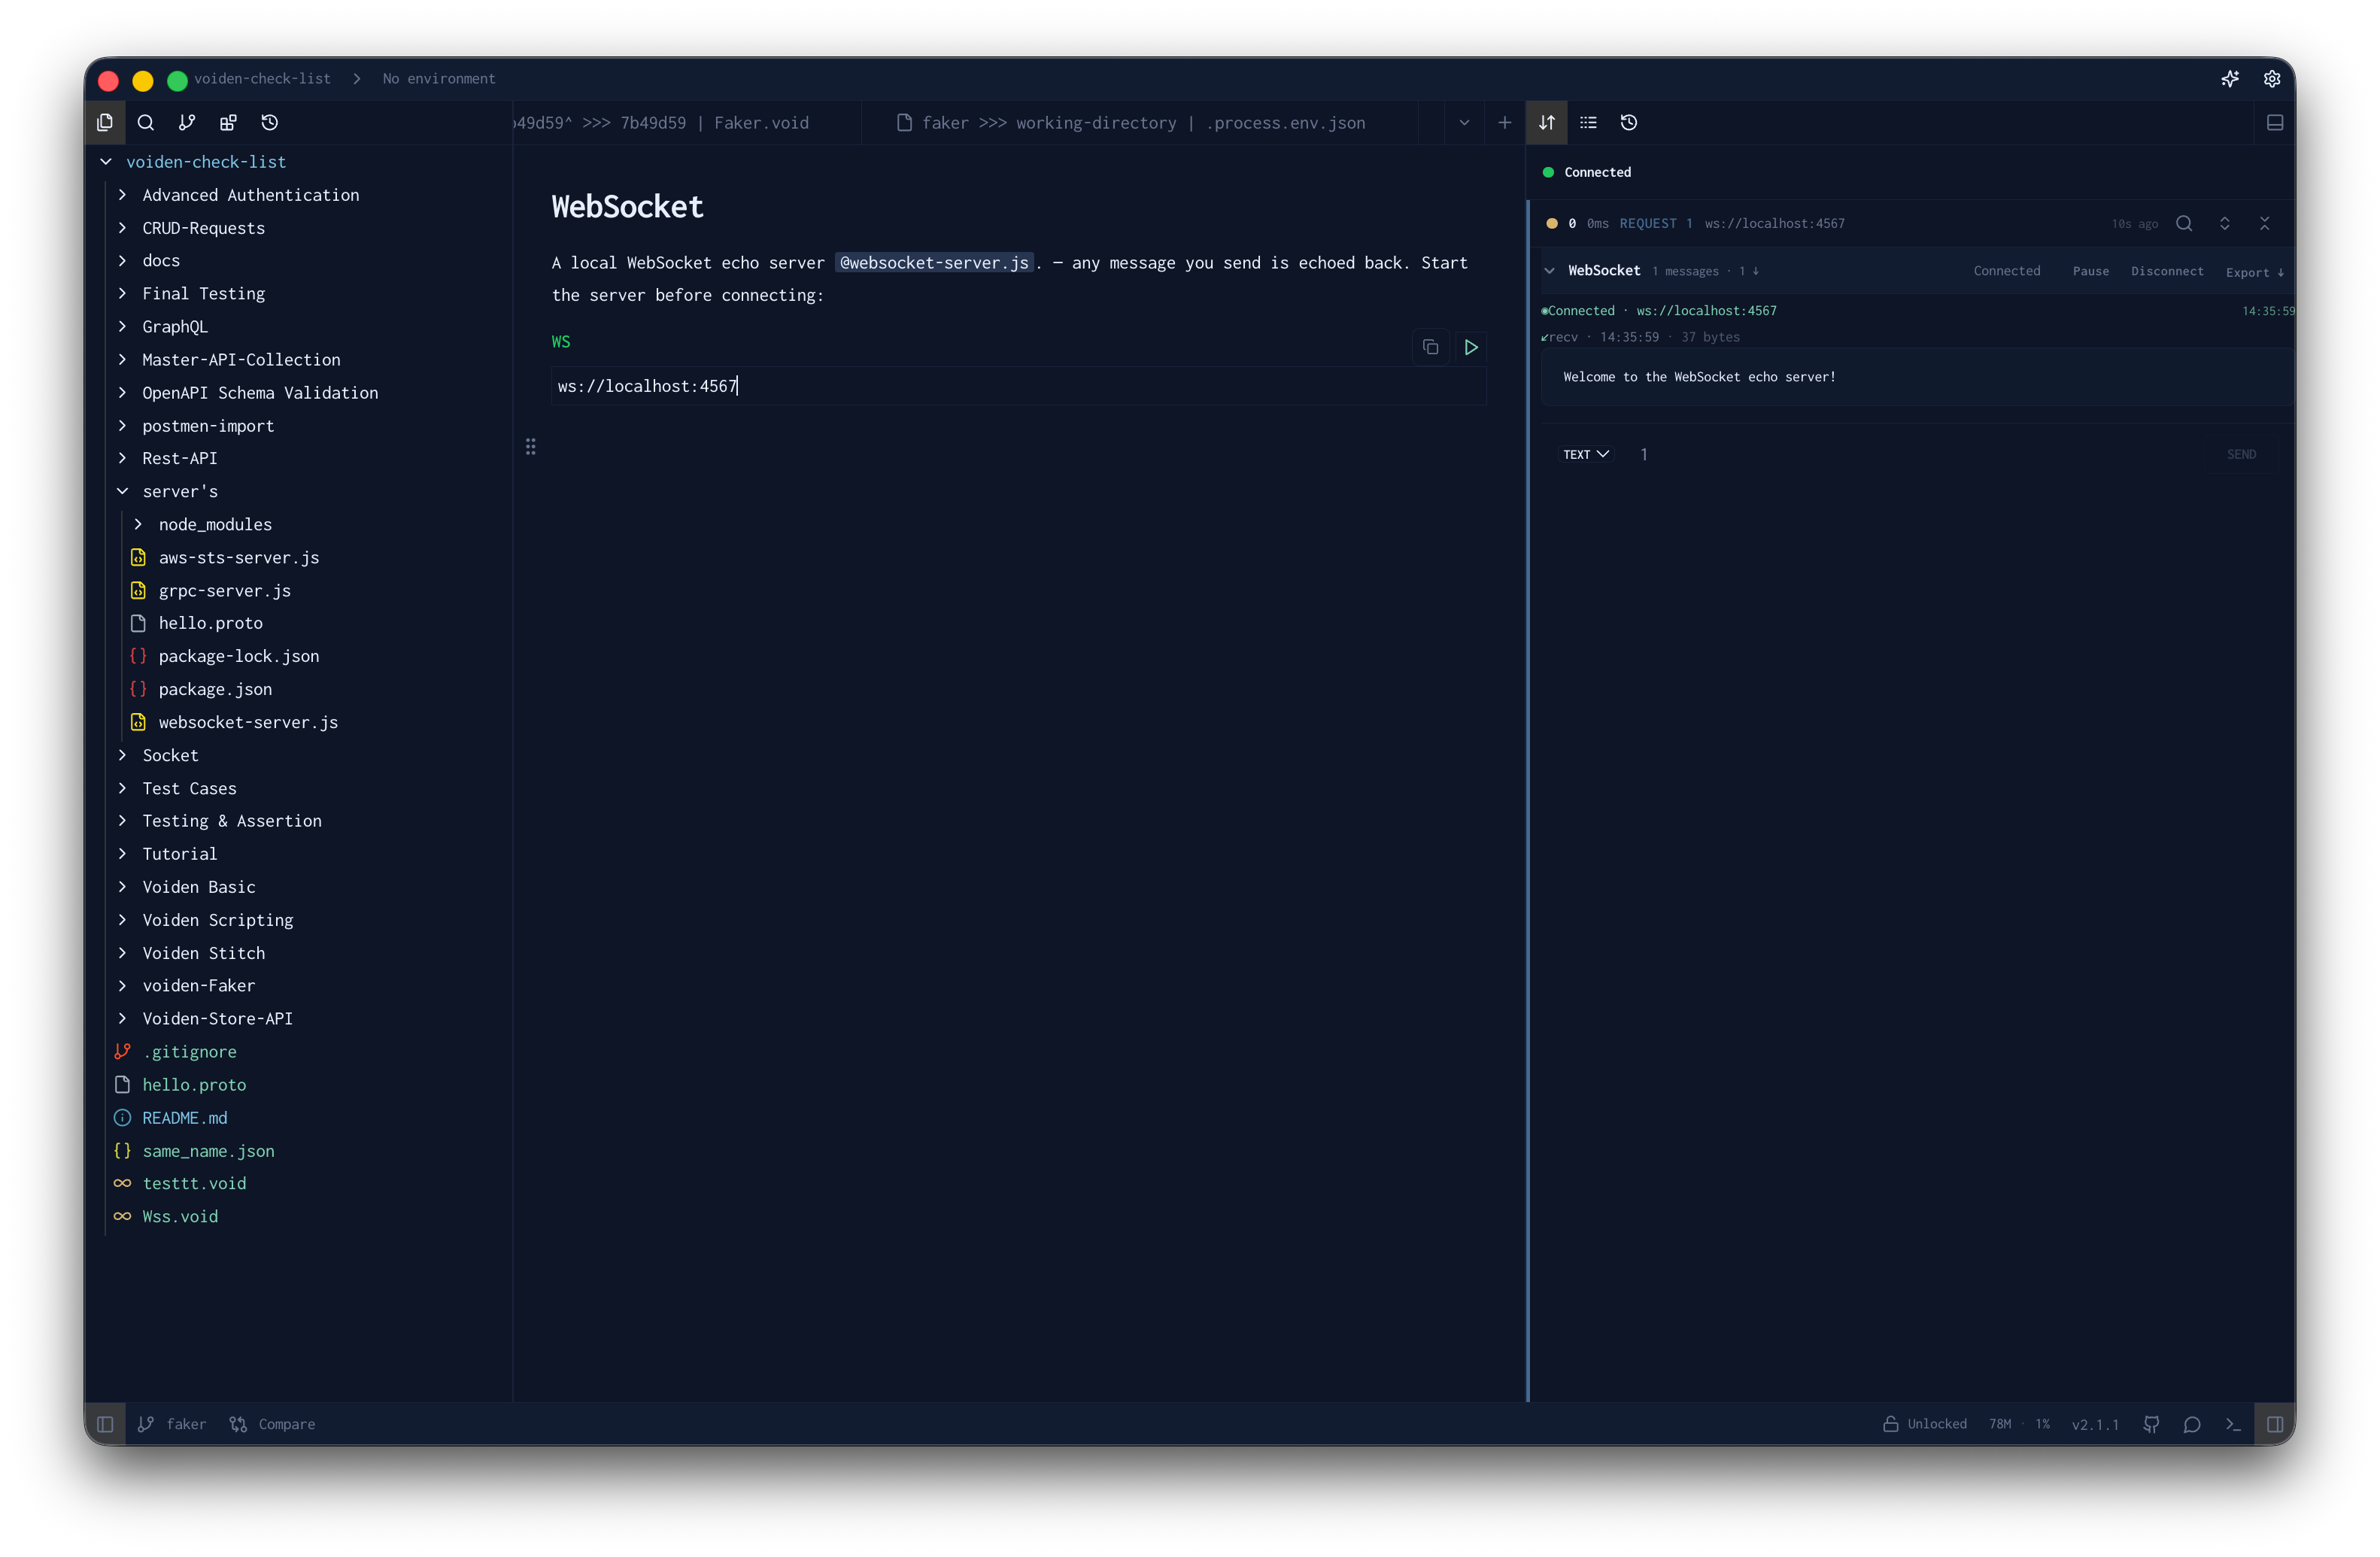
There's a short video walking through this if you'd rather watch than read: WebSocket testing in Voiden.
The block part matters more than it sounds. In Voiden, the endpoint, the headers, the auth — each is its own block, and blocks can be added, reused, overridden, and stitched together across files. Define your wss:// endpoint block once. Reuse it in the happy-path test, the reconnection test, and the two-client cross-talk test. When the endpoint changes, you change one block, and every test that references it follows. That's the difference between a pile of tests and a test suite.
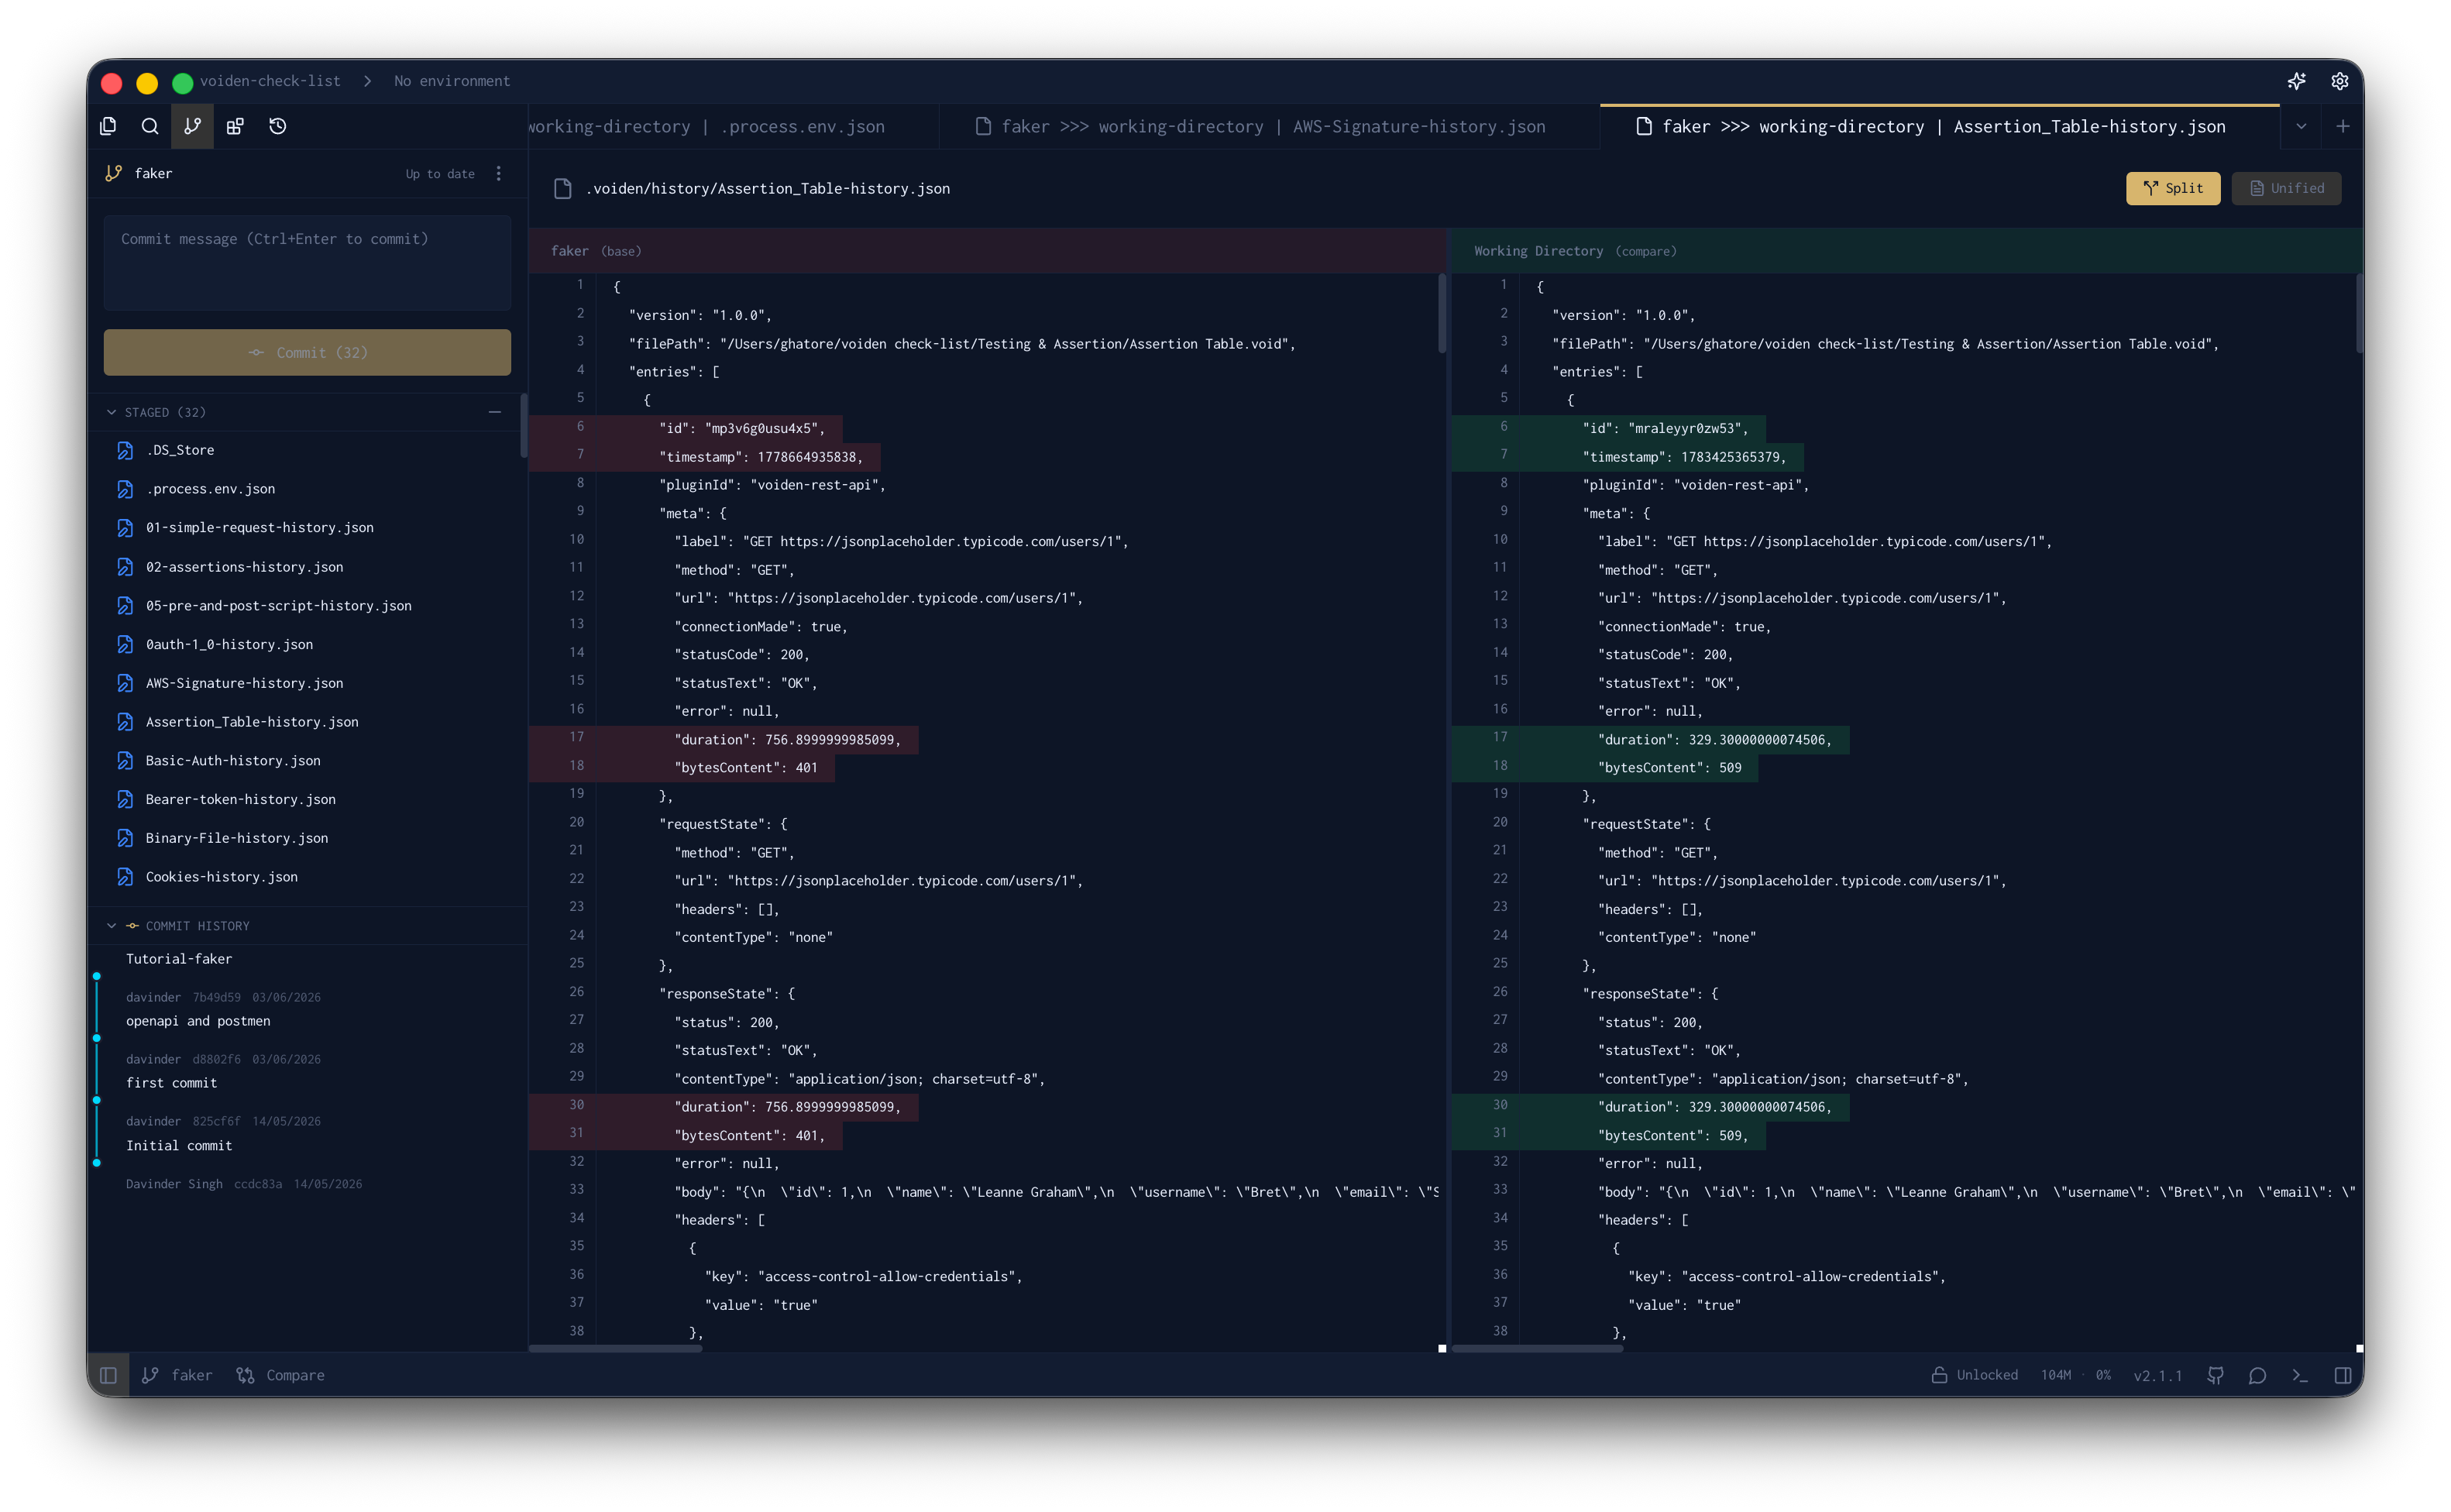
And since it's all plain Markdown, the connection, the messages, and the notes explaining why each test exists live in one .void file, in the same Git repo as the server it tests.
Why does that matter? Because tests that live outside the repo drift. Tests that live inside it get reviewed. When someone renames a message field, the test change shows up in the same pull request as the code change.
For scripted exchanges, Voiden runs pre- and post-request scripts in JavaScript, Python, or shell. They run on your actual machine, not in a sandbox. The Stitch runner batch-executes multiple .void files in sequence. That's how a folder of WebSocket scenarios becomes a suite you run before every release.
Load testing: use a real load tool
Honest part first: Voiden is not a load testing tool. Neither is Postman. No API client is. Simulating thousands of concurrent WebSocket connections is a different job. Use a tool built for it:
- k6 — scriptable in JavaScript, strong WebSocket support, runs well in CI. Our default recommendation.
- Artillery — YAML-defined scenarios, quick to get a first test running.
- Gatling — Scala-based, heavier to learn, very capable at high connection counts.
A minimal k6 WebSocket test looks like this:
import ws from 'k6/ws';
import { check } from 'k6';

export default function () {
  const res = ws.connect('wss://your-app.example/ws', {}, (socket) => {
    socket.on('open', () => socket.send('ping'));
    socket.on('message', () => socket.close());
  });
  check(res, { 'handshake succeeded': (r) => r && r.status === 101 });
}
Run it with k6 run --vus 100 --duration 30s test.js and you're simulating 100 concurrent users.
Four things to measure under load:
- Connection success rate as you ramp up.
- Message latency under load, not just at idle.
- Server memory as connections accumulate.
- Behavior when connections drop en masse and reconnect at once.
That last one is the reconnection stampede. It's where most real-time systems fall over in production, and almost nobody tests it.
Debugging: two tools cover almost everything
- Browser DevTools. Every modern browser shows WebSocket frames in the Network tab. For client-side issues, start here. It's free and already open.
- Wireshark. When you need to see what's on the wire — handshake failures, TLS problems, proxy interference — nothing else gives that level of detail.
Voiden's WebSocket block helps here too. Every session keeps a message activity log: outbound messages marked ↑, inbound marked ↓, each with a timestamp. When something arrives out of order or twice, the log shows you exactly when and in which direction. That's usually enough to skip Wireshark entirely.
One habit worth building: when a test fails, save the exact message sequence that triggered it. The activity log gives you the sequence; if your tests are files in Git, saving it is trivial. The failing scenario becomes a file. Commit it as a regression test. That loop, from bug to permanent test, is the payoff of keeping tests in the repo.
Put WebSocket tests in CI
WebSocket tests belong in the same CI pipeline as your unit tests. The setup is unglamorous:
- Spin up the server or a test instance.
- Run the functional suite against it.
- Fail the build on any broken exchange.
Add a scheduled load test with k6 or Artillery. Weekly is fine. Performance regressions creep in commit by commit, and a schedule catches them before a traffic spike does.
If your tests are plain files in the repo, CI integration is mostly free: check out the repo, run the suite. If they live in a cloud workspace, you'll maintain an export step forever.
There's a short video on how Voiden keeps tests co-located with code, if you'd rather watch than read: Voiden: The truly Git Native API Client.
Five rules that prevent most WebSocket bugs
- Test the single connection first. Multiuser bugs on top of single-connection bugs are unfindable.
- Test with at least two simultaneous clients before calling anything "multiuser-ready."
- Test the reconnect path deliberately. It's one of the most common real-world failures and the least tested.
- Use wss:// in every environment that has TLS. Some bugs live only in the TLS handshake.
- Load test on a schedule, not just before launches.
Wrap-up
WebSocket applications are stateful and event-driven. That's not a reason to test them less rigorously than REST APIs. It's a reason to test them more. Functional tests for correctness. A real load tool for concurrency. DevTools and Wireshark for everything in between. And keep the tests next to the code — that's the one decision that keeps paying off after the sprint ends.
Getting started
- Download Voiden and install the WebSocket plugin.
- Create a .void file, type /wss, hit Cmd/Ctrl + Enter, and send your first message.
- Commit it to the same repo as your server code, and wire the suite into CI.
The full WebSocket block reference is in the docs.
Download Voiden at voiden.md/download, or dig into the source at github.com/VoidenHQ/voiden.
Related Posts
Phurpa Tsering
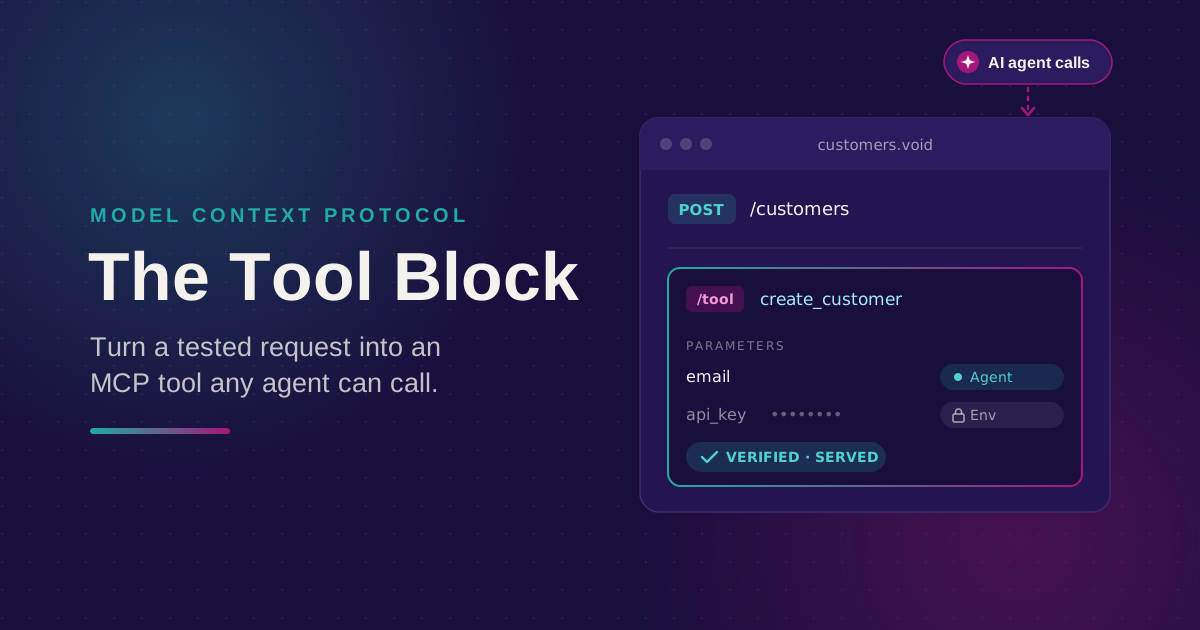
Turn Your Tested API Requests Into Agent-Callable MCP Tools
Turn a request you've already tested into an MCP tool that agents can call, then publish it with @voiden/mcp. Use stdio for local use, or --http/--tunnel for a server you can host.
Phurpa Tsering
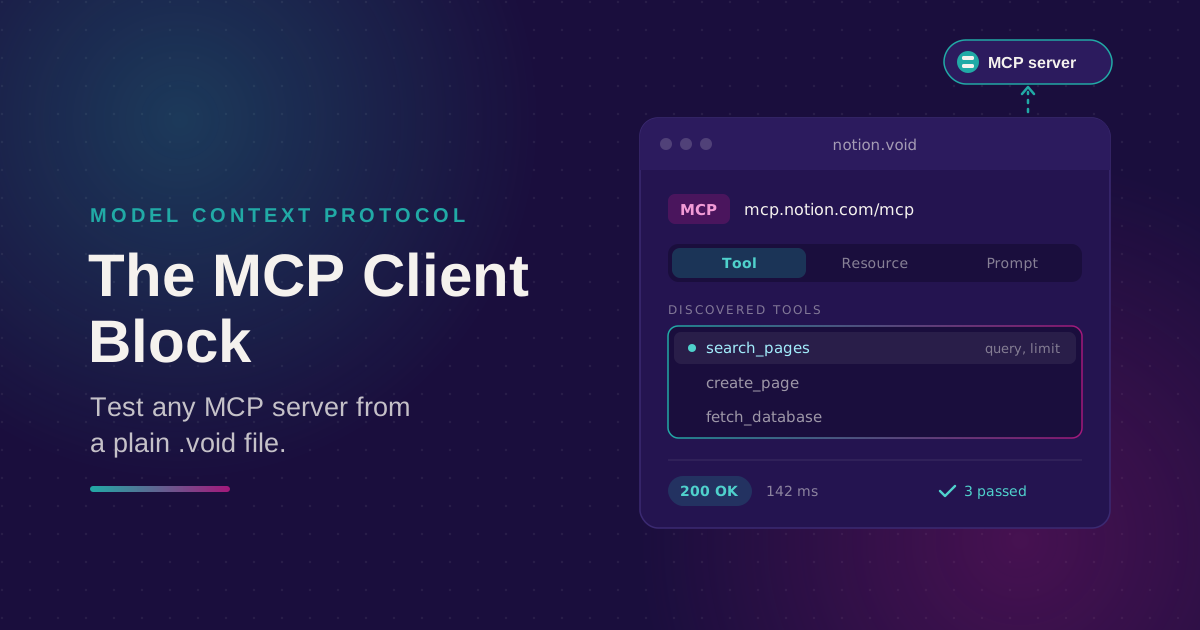
Bring Any MCP Server Into Your API Testing Workflow
Connect to any Streamable HTTP MCP server, browse its tools, resources, and prompts, and call one. Check the response with the same auth and assertion blocks you use for REST, all from a plain .void file.
Phurpa Tsering
Give Your Coding Agent Real Access to Your API Requests
One status-bar button (or one CLI command) registers your project with Claude Code or Codex over MCP, giving your coding agent the same six tools Voiden uses to list, run, and manage requests.